
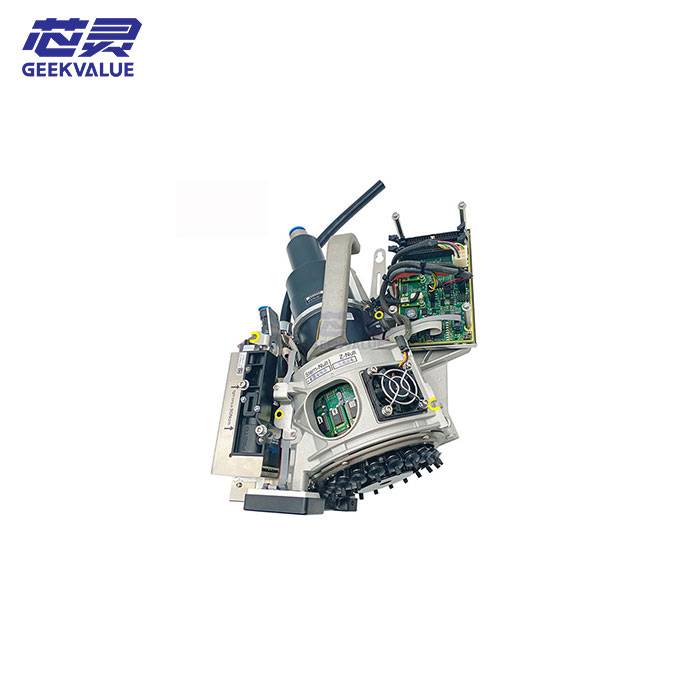
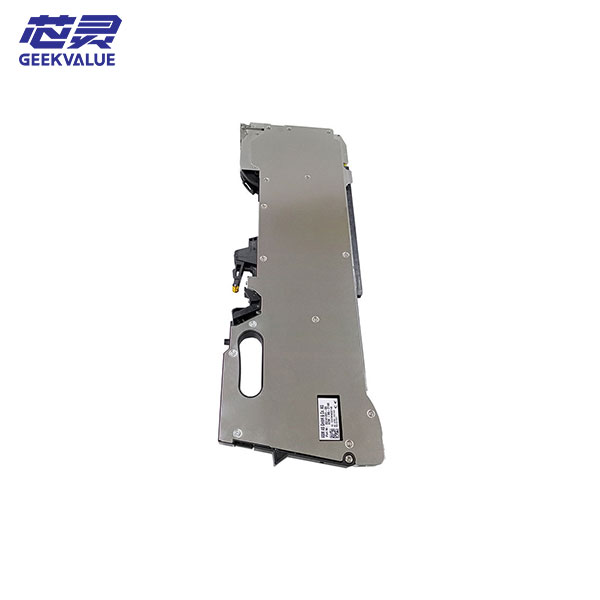
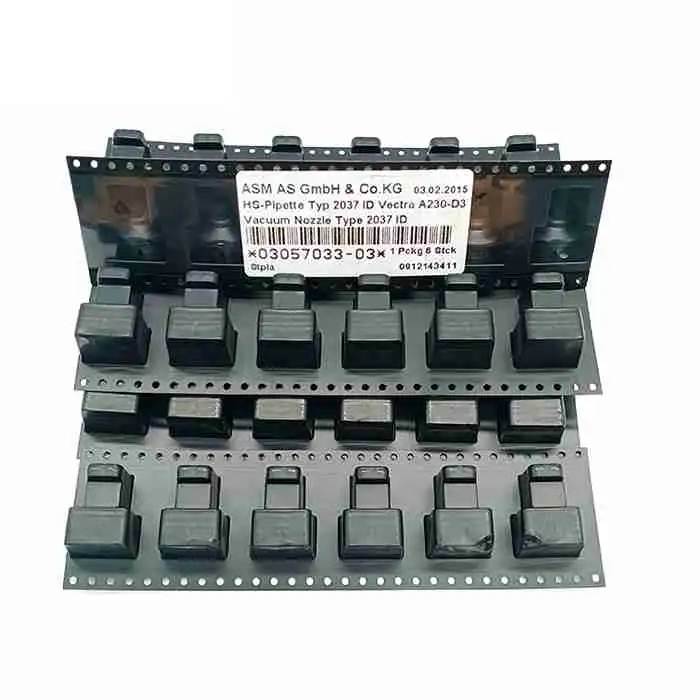
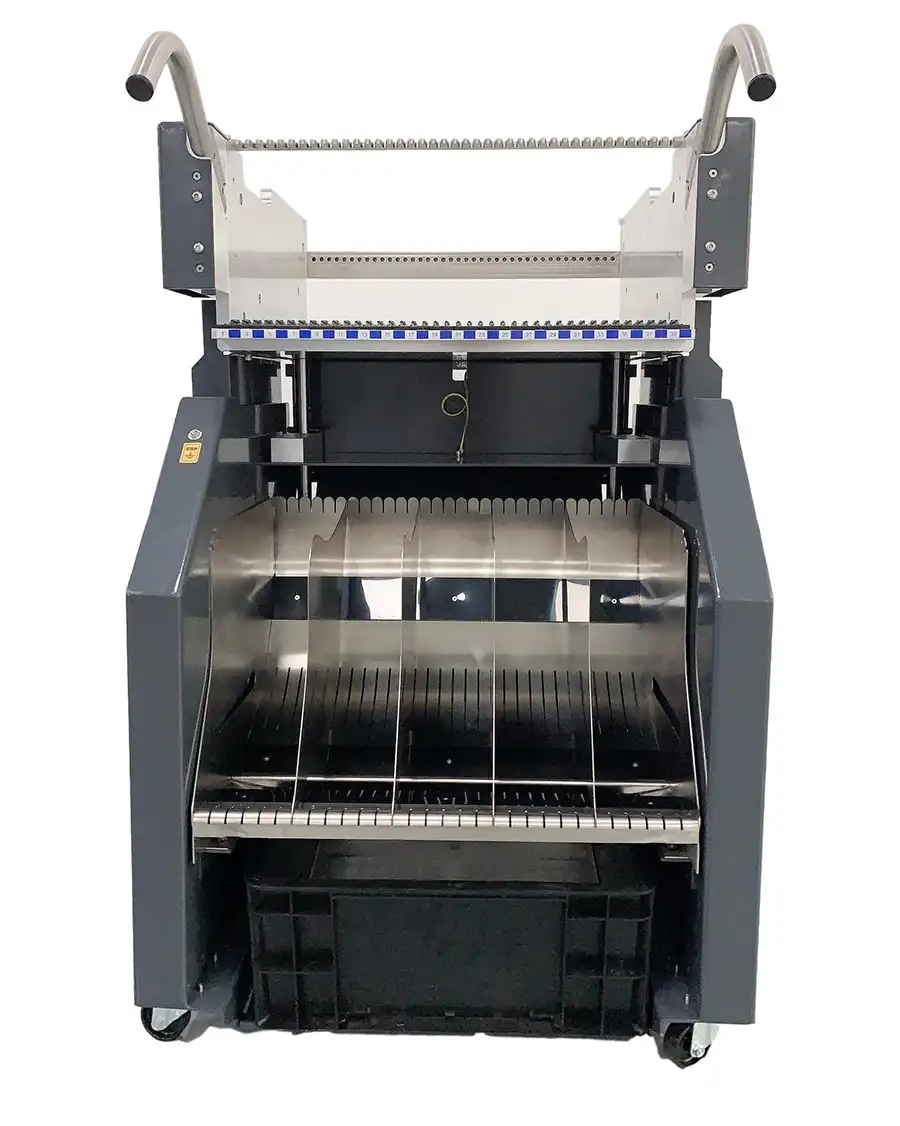
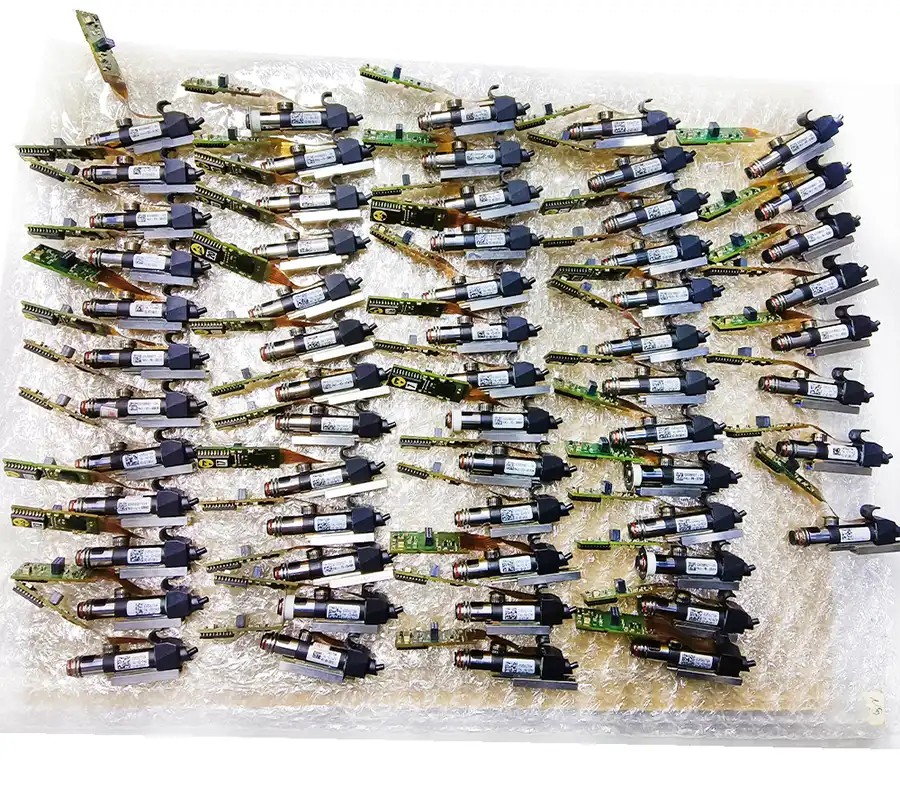
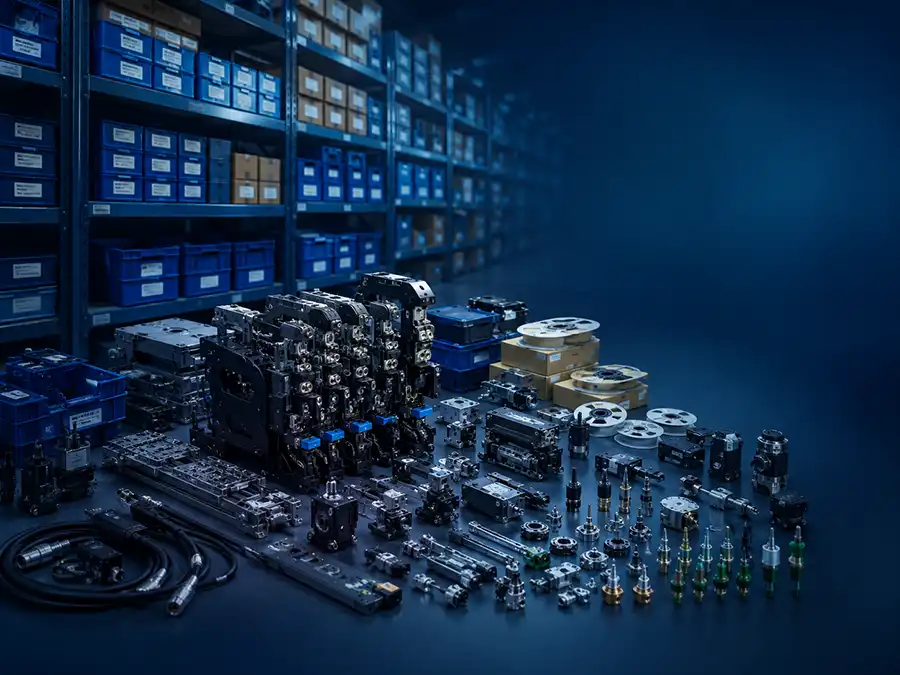
Two SMT machine parts can look nearly identical while differing in part number, suffix, connector, mounting arrangement, electrical rating, machine generation or installed configuration. Ordering from appearance alone may result in an incorrect fit, electrical or mechanical mismatch, production delays and unnecessary return or shipping costs.
To identify the correct SMT machine part before ordering, collect the available evidence in a structured sequence:
Identify the Machine → Record the Complete Part Number → Check Suffixes and Markings → Photograph the Part → Measure Key Details → Confirm Connector and Mounting Information → Record Installed Position and Function → Send the Evidence Through WhatsApp
Reliable identification normally requires machine information, complete part markings, physical evidence and installation context rather than visual similarity alone. This evidence helps narrow the likely item before reviewing available ASM/SIPLACE SMT machine parts or requesting further review.
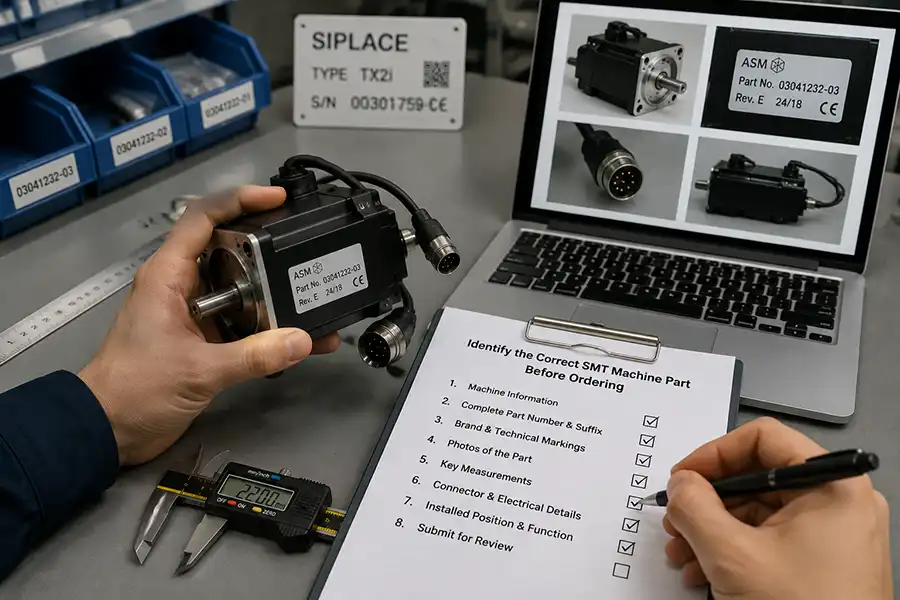
Start With the SMT Machine Information
Record the machine information before comparing the removed part with possible replacements. Machine identity narrows the search context and helps eliminate parts intended for other generations or configurations.
Record:
Machine manufacturer
Machine series or family
Exact machine model
Machine generation or version, when known
Serial number when available
Installed machine configuration
Machine position within the production line, when relevant
Relevant placement-head, conveyor or feeder configuration
Do not assume that a part is interchangeable across different SIPLACE families, generations, placement heads, conveyor arrangements or installed options.
Record the Complete Part Number and Suffix
The complete part number is usually one of the strongest forms of identification evidence.
Part numbers may appear on:
Printed labels
Engraved or laser-etched markings
Nameplates and stickers
Connector labels
Original packaging
Previous purchase records
Machine or parts documentation
Record the identification exactly as shown, including:
Prefix and base number
Suffix
Revision
Letter codes
Dashes and spacing
Serial or batch information when relevant
Do not shorten the number or omit the suffix. Similar base numbers may represent different revisions, interfaces, electrical versions or machine configurations.
A complete part number identifies a likely item or version, but the machine generation and installed configuration may still need to be checked.
Check Brand, Manufacturer and Technical Markings
Manufacturer and technical markings provide supporting evidence when identifying an SMT replacement part.
Look for:
ASM, ASMPT or SIPLACE markings
Original component-manufacturer logos
Motor, sensor or electronic-component model numbers
Voltage and current markings
Power ratings
Production codes
Revision labels
Connector designations
Record every readable marking rather than selecting only the largest number on the label. A third-party manufacturer label may identify the original component manufacturer, but it does not by itself establish suitability for a specific SMT machine.
Take Clear Photos of the Part and Its Identification Details
Clear photos are especially important when labels are damaged, multiple versions look similar or the supplier cannot inspect the part physically.
Photograph all relevant sides of the part, especially:
The complete part
The complete part-number label
Manufacturer and technical markings
Connectors and cables
Mounting holes and brackets
Shafts, gears, pulleys or couplings
Distinguishing mechanical features
The damaged or worn area
The installed position before removal
Use clear lighting, keep markings readable and avoid covering the part with fingers or creating reflections over labels. A close-up label photo and a complete-part photo provide different information, so both are often useful.
Include a ruler or scale when it helps communicate size, and preserve the original image resolution when sending the photos for review.
Measure the Key Physical Dimensions
Measurements can help distinguish parts with similar housings or incomplete markings.
Depending on the part type, useful measurements may include:
Overall length, width and height
Diameter and thickness
Hole diameter and mounting-hole spacing
Shaft diameter
Connector dimensions
Mounting dimensions
Cable length
Feeder width
Nozzle length and tip diameter
Measure the dimensions most likely to distinguish one version from another. A motor may require shaft and mounting measurements, while a nozzle may require its tip diameter, overall length and interface dimensions.
Dimensions support physical comparison but do not establish electrical characteristics, revision or machine fitment on their own.
Confirm Connector, Cable and Electrical Details
For electrical and electromechanical parts, connector and cable details may distinguish items that otherwise look identical.
Record:
Connector type
Number of pins
Visible pin arrangement
Connector orientation
Cable length
Cable exit direction
Voltage and current markings
Power rating
Encoder or feedback connector
Grounding arrangement
This information is particularly relevant when identifying motors, sensors, cameras, control boards, valves, drives and driver components.
A matching connector does not by itself confirm electrical, control or machine compatibility. Do not modify connectors, reassign pins or alter wiring to force an unverified part into the machine.
Confirm Mounting and Mechanical Details
A visually similar part may still use a different mechanical interface.
Check:
Mounting-hole pattern and spacing
Bracket shape
Thread type
Shaft shape and keyway
Coupling design
Gear or pulley arrangement
Guide position
Left-hand or right-hand orientation
Installation direction
Available mechanical clearance
A similar external shape does not guarantee the same mounting interface, shaft geometry, alignment or installation direction. Do not modify brackets, mounting holes or mechanical interfaces to force installation.
Record the Installed Location and Part Function
The installed position provides context that may no longer be visible after the part has been removed.
Record whether the part was installed in the:
Placement head
Feeder bank
PCB conveyor
Gantry
Camera area
Vacuum system
Control cabinet
Feeder trolley
Width-adjustment mechanism
Also describe its function, such as presenting components, holding components, moving an axis, detecting position, controlling vacuum, transporting a PCB or storing feeders.
Use the functional distinctions accurately: feeders present components, nozzles contact and hold them, placement heads carry pickup tools, vision systems measure, control systems coordinate, motors execute movement, conveyors transport PCBs and trolleys store or move feeders.
Check Existing Records and Documentation
Physical inspection is only one source of identification evidence. Existing records may contain a previously verified part number or machine reference.
Check:
Previous purchase orders
Supplier invoices
Machine and parts manuals
Maintenance records
Service reports
Internal spare-parts databases
Original packaging
Labels on stored replacement parts
Compare old records with the machine currently installed. An earlier order may refer to another machine, a previous configuration or a different revision.
Ask the Technician Who Removed the Part
The technician or engineer who removed the part may provide useful context about its installed position, machine configuration, previous replacement history or whether the removed item was original or substituted.
Failure symptoms or related alarms may also help establish the installation context, but this information should support identification rather than replace exact part and machine evidence.
Use the Strongest Available Identification Evidence
Not all evidence has the same identification value. A practical order of preference is:
Complete part label, part number and suffix
Official machine or parts documentation
Verified records for the same installed configuration
Machine model, generation and configuration
Clear full-part, label, connector and mounting photos
Relevant physical measurements
Technician or operator information
Appearance, one matching dimension, a marketplace title or technician memory should not be used as the only basis for ordering.
Part-Specific Identification Examples
| Part Category | Useful Identification Evidence |
|---|---|
| SMT feeder | Feeder family, tape width, machine platform, complete label, interface, installed position and full photos |
| SMT nozzle | Nozzle code, tip shape, tip diameter, overall length, head type and clear tip and interface photos |
| SMT placement head | Head type, machine generation, complete label, installed machine, connectors, mounting details and assembly photos |
| SMT motor | Manufacturer and model, electrical rating, shaft dimensions, connector, encoder, mounting arrangement and cable details |
| SMT feeder trolley | Feeder family, slot layout, overall dimensions, frame design, wheel arrangement and storage configuration |
What to Do When the Part Number Is Missing or Unreadable
If the part number is missing, damaged or unreadable, use this fallback process:
Record the machine model and generation.
Photograph the complete part.
Photograph its installed position.
Record every visible marking.
Measure the distinguishing dimensions.
Record connectors, cables and mounting details.
Describe the part’s function.
Check manuals, maintenance records and purchase history.
Ask the technician who removed the part.
Send all available information and photos through WhatsApp for review.
Incomplete information may prevent immediate confirmation and may require comparison with machine documentation or the original installed component.
Information to Prepare Before Contacting Us
Prepare the information that applies to the part before contacting us through WhatsApp. Clear and complete information supports a faster and more reliable review.
Machine brand and family
Exact machine model and generation
Serial number when available
Complete part number
Complete suffix or revision
Part description
Installed location
Clear full-part and label photos
Connector details
Mounting details
Key dimensions
Required quantity
Preferred condition: new, used or either
Delivery destination
Required timing
Related machine symptom when relevant
Not every item applies to every part, but more complete evidence generally allows the available information to be reviewed more efficiently.
Common SMT Part Identification Mistakes to Avoid
Ordering only from appearance
Removing the suffix from the part number
Assuming all SIPLACE generations use the same part
Relying only on a marketplace product title
Treating one matching connector as full proof
Using dimensions as the only evidence
Modifying connectors or mounting points to force installation
Discarding the original part before identification is complete
Sending only one blurred or cropped photo
Omitting the installed machine information
Send Your SMT Part Information Through WhatsApp
Prepare the machine model and generation, complete part number and suffix, clear full-part and label photos, key dimensions, connector and mounting details, installed position and required quantity.
Send the available information and photos through WhatsApp. This evidence can help narrow the likely part category or replacement option and support comparison with available ASM/SIPLACE SMT machine parts.
Final verification depends on the completeness and accuracy of the machine and part information provided.
Frequently Asked Questions About Identifying SMT Machine Parts
How can I identify the correct SMT machine part?
Collect the machine information, complete part number and suffix, markings, clear photos, relevant dimensions, connector and mounting details, installed location and part function.
Is a part number enough to confirm compatibility?
A complete part number is strong evidence, but the machine generation, installed configuration, revision and interface may also need to be checked.
Why is the suffix on an SMT part number important?
The suffix may distinguish a revision, electrical version, interface or configuration from another part with the same base number.
What photos are needed to identify an SMT machine part?
Provide a complete-part photo together with clear images of the label, connectors, mounting points, distinguishing mechanical features and installed position.
What should I do if the part number is missing?
Record the machine information, photograph the part and installed position, collect visible markings, measure distinguishing dimensions and document its connectors, mounting arrangement and function.
Are similar-looking SIPLACE parts interchangeable?
Compatibility should not be assumed from appearance or the SIPLACE name alone. The part number, revision, machine generation, configuration and interface should be checked.
Conclusion: Correct SMT machine part identification depends on combining machine information, complete part markings, clear photos, relevant measurements and installation details. Collecting this evidence before ordering helps reduce the risk of selecting an incorrect replacement and supports a more reliable parts review.